How to get started with Reown AppKit using the AppKit CLI
Learn how to use Reown AppKit to enable wallet connections and interact with 500+ EVM networks, Solana, and Bitcoin.
With AppKit, you can provide seamless wallet connections, including email and social logins, on-ramp functionality, smart accounts, one-click authentication, and wallet notifications, all designed to deliver an exceptional user experience.
In this tutorial, you will learn how to:
- Set up Reown AppKit.
- Configure a wallet connection modal and enable interactions with EVM networks, Solana, or Bitcoin.
This guide takes approximately 5 minutes to complete.
Let’s get started!
Setup
In this section, you'll learn how to set up the development environment to use AppKit.
For this tutorial, we'll be using Next.js, though you can use any other framework compatible with AppKit.
AppKit is available on eight frameworks, including React, Next.js, Vue, JavaScript, React Native, Flutter, Android, iOS, and Unity.
Now, let’s create a Next app using the CLI. In order to do so, please run the command given below:
npx @reown/appkit-cliThe above command uses the AppKit CLI to allow you to effortlessly set up a simple web app configured with Reown AppKit.
After running the command, you will be prompted to confirm the installation of the CLI. Upon your confirmation, the CLI will request the following details:
- Project Name: Enter the name for your project.
- Framework: Select your preferred framework or library. Currently, you have three options: React, Next.js, and Vue.
- Network-Specific libraries: Choose whether you want to install Wagmi, Ethers, Solana, Bitcoin, or Multichain (EVM + Solana). For the sake of this tutorial, we will be using EVM networks, so you need to either pick Wagmi or Ethers. Let’s choose Wagmi for the sake of this tutorial.
After providing the project name and selecting your preferences, the CLI will install a minimal example of AppKit with your preferred blockchain library.
Now, you need to install the dependencies required to run the AppKit project. To do this, please run the command given below.
npm installYou can also use other package managers such as yarn, bun, pnpm, etc.
The example will be pre-configured with a projectId that will only work on the localhost. To fully configure your project, please obtain a projectId from the Reown Cloud Dashboard and update your projectId accordingly.
The constant variable projectId can be found in /config/index.ts file.
Create a new project on Reown Cloud
Now, we need to get a project ID from Reown Cloud that we will use to set up AppKit with Wagmi config. Navigate to cloud.reown.com and sign in. If you have not created an account yet, please do so before we proceed.
After you have logged in, please navigate to the “Projects” section of the Cloud and click on “Create Project”.
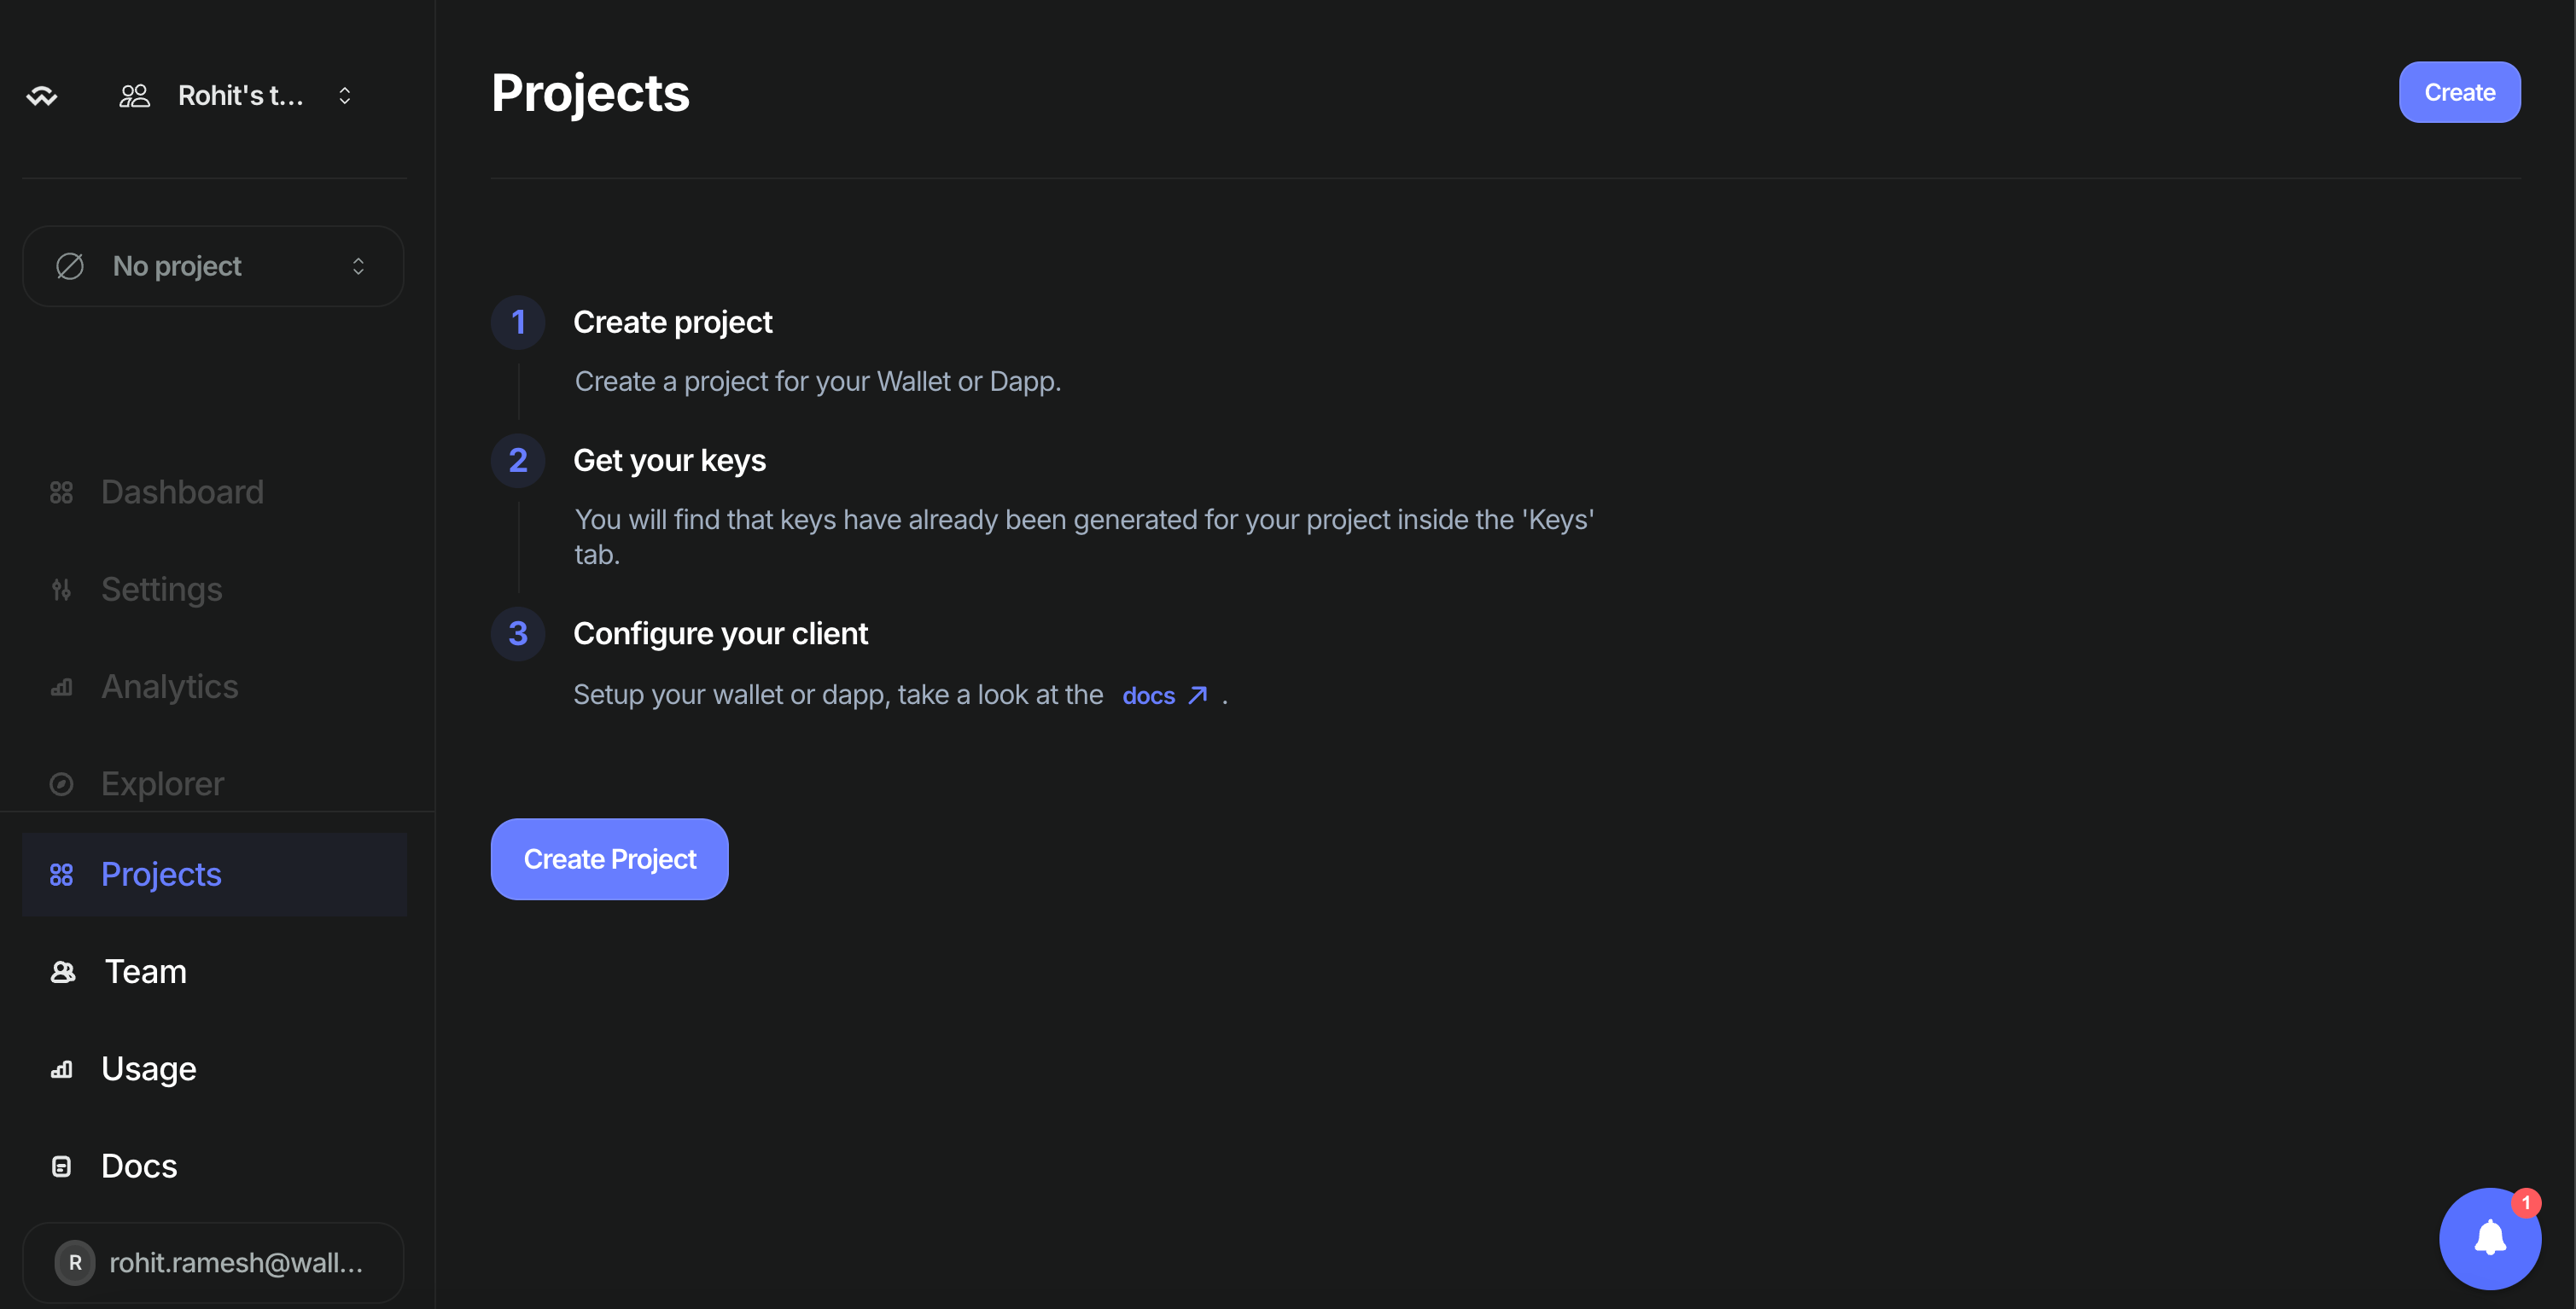
Now, enter the name for your project and click on “Continue”.

Select the product as “AppKit” and click on “Continue”.
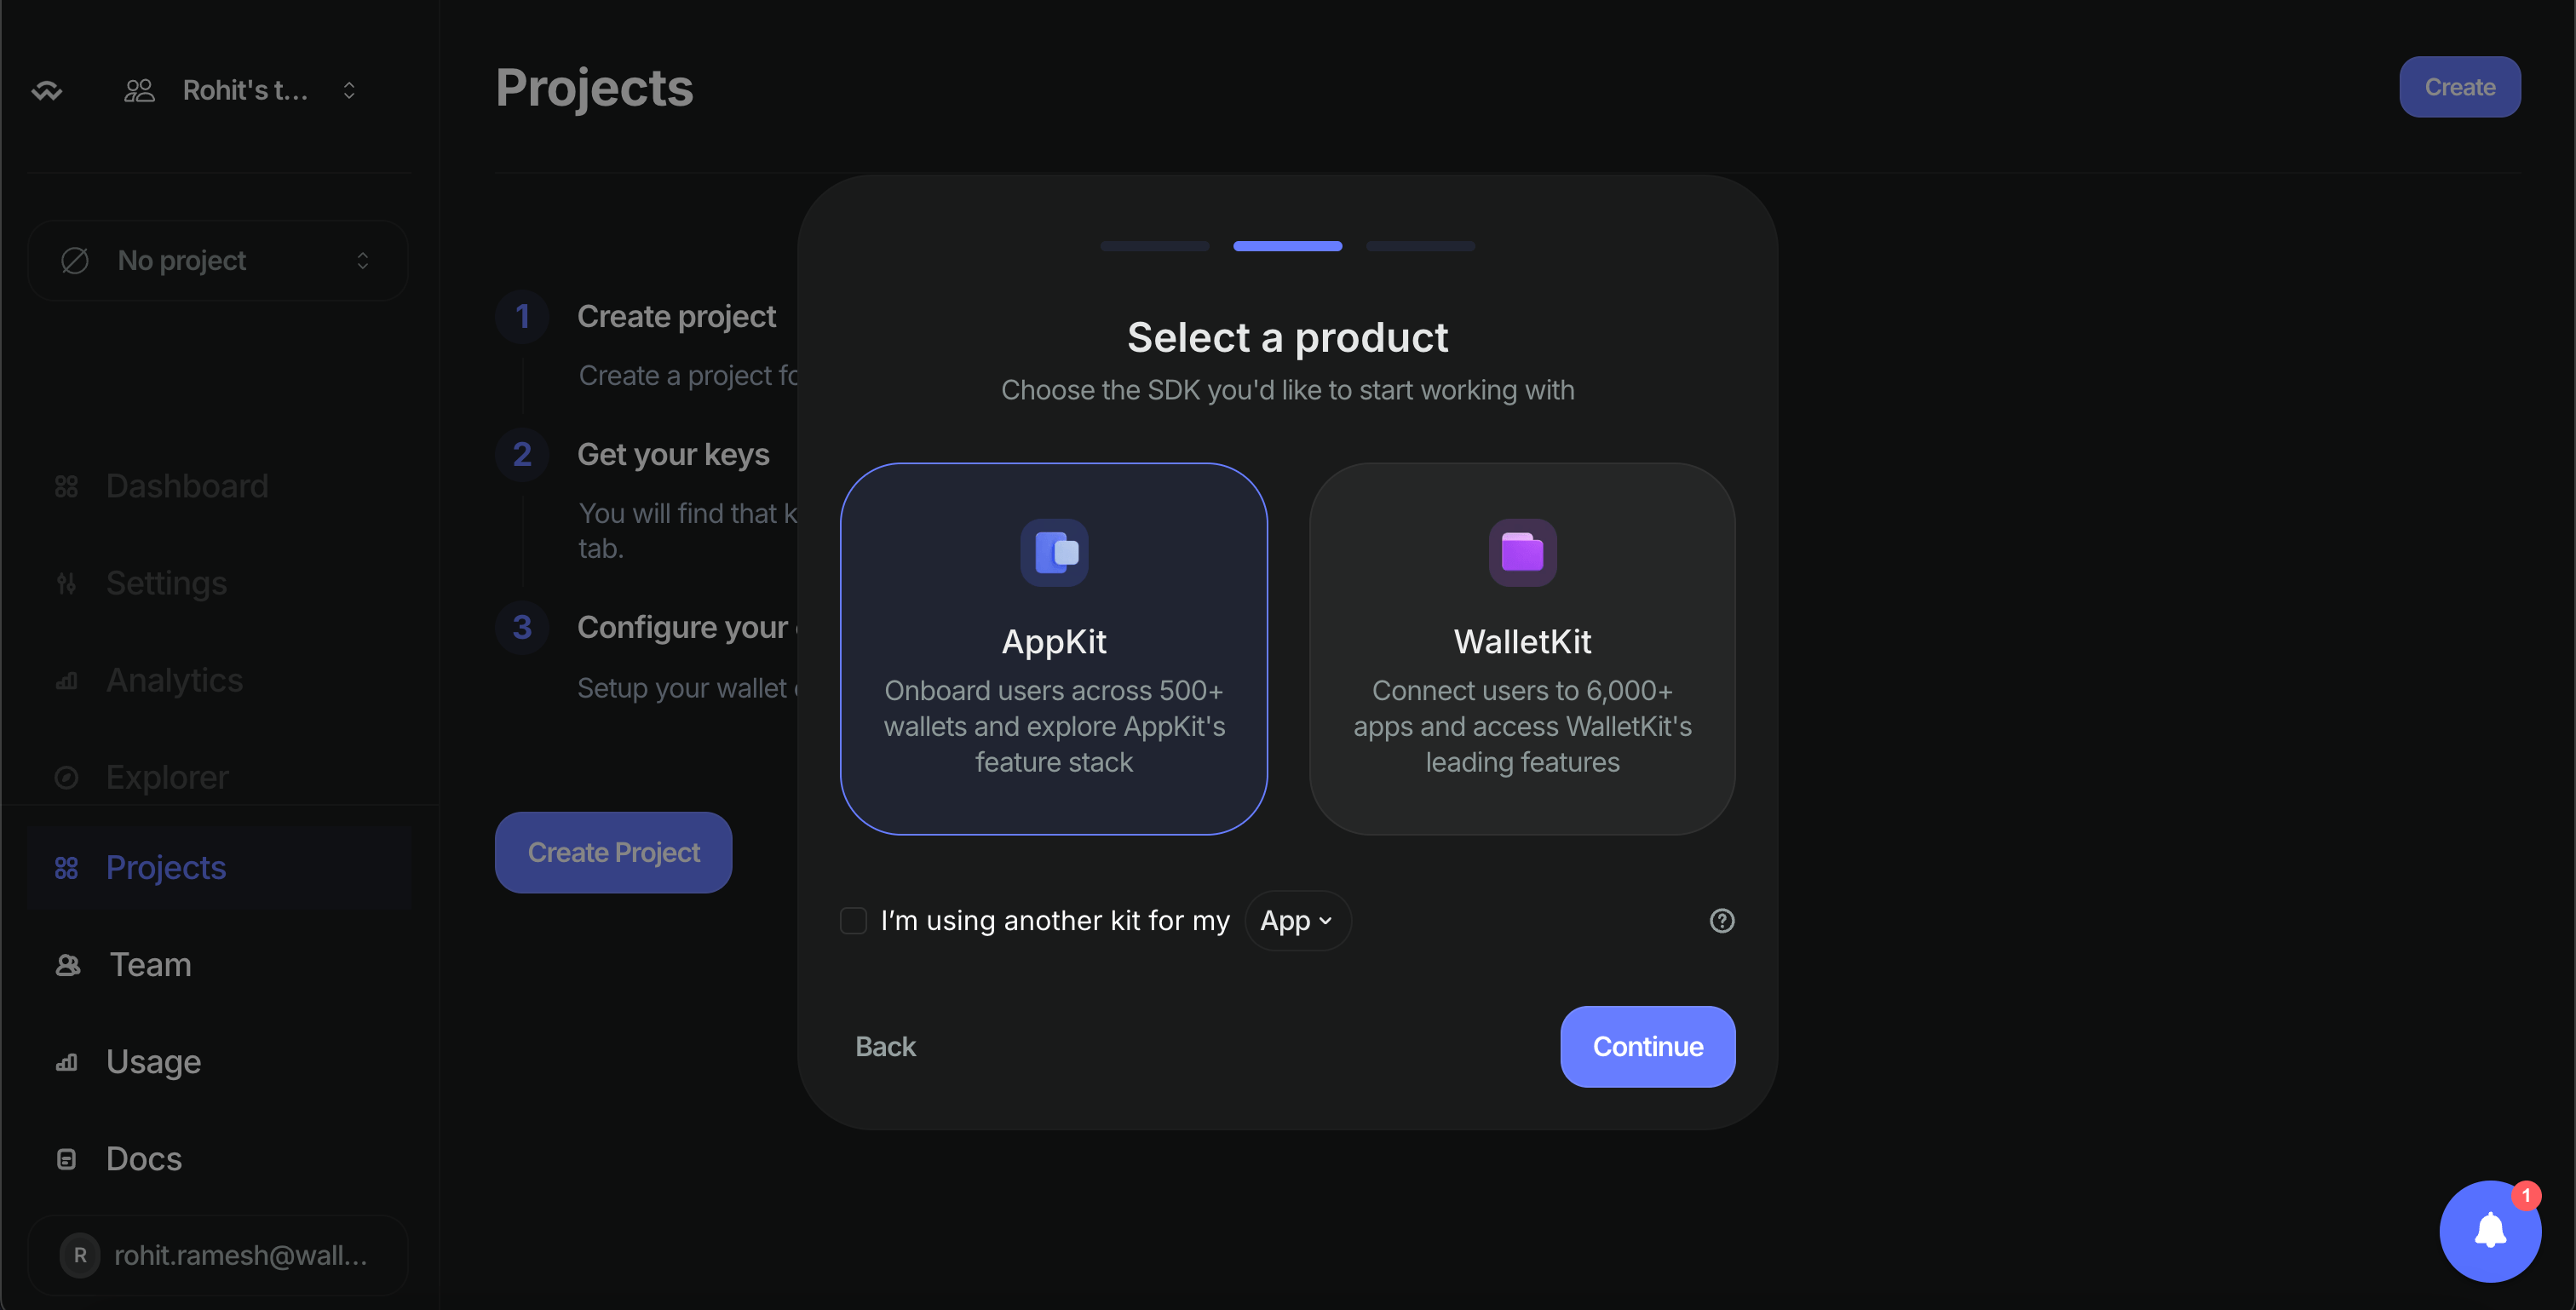
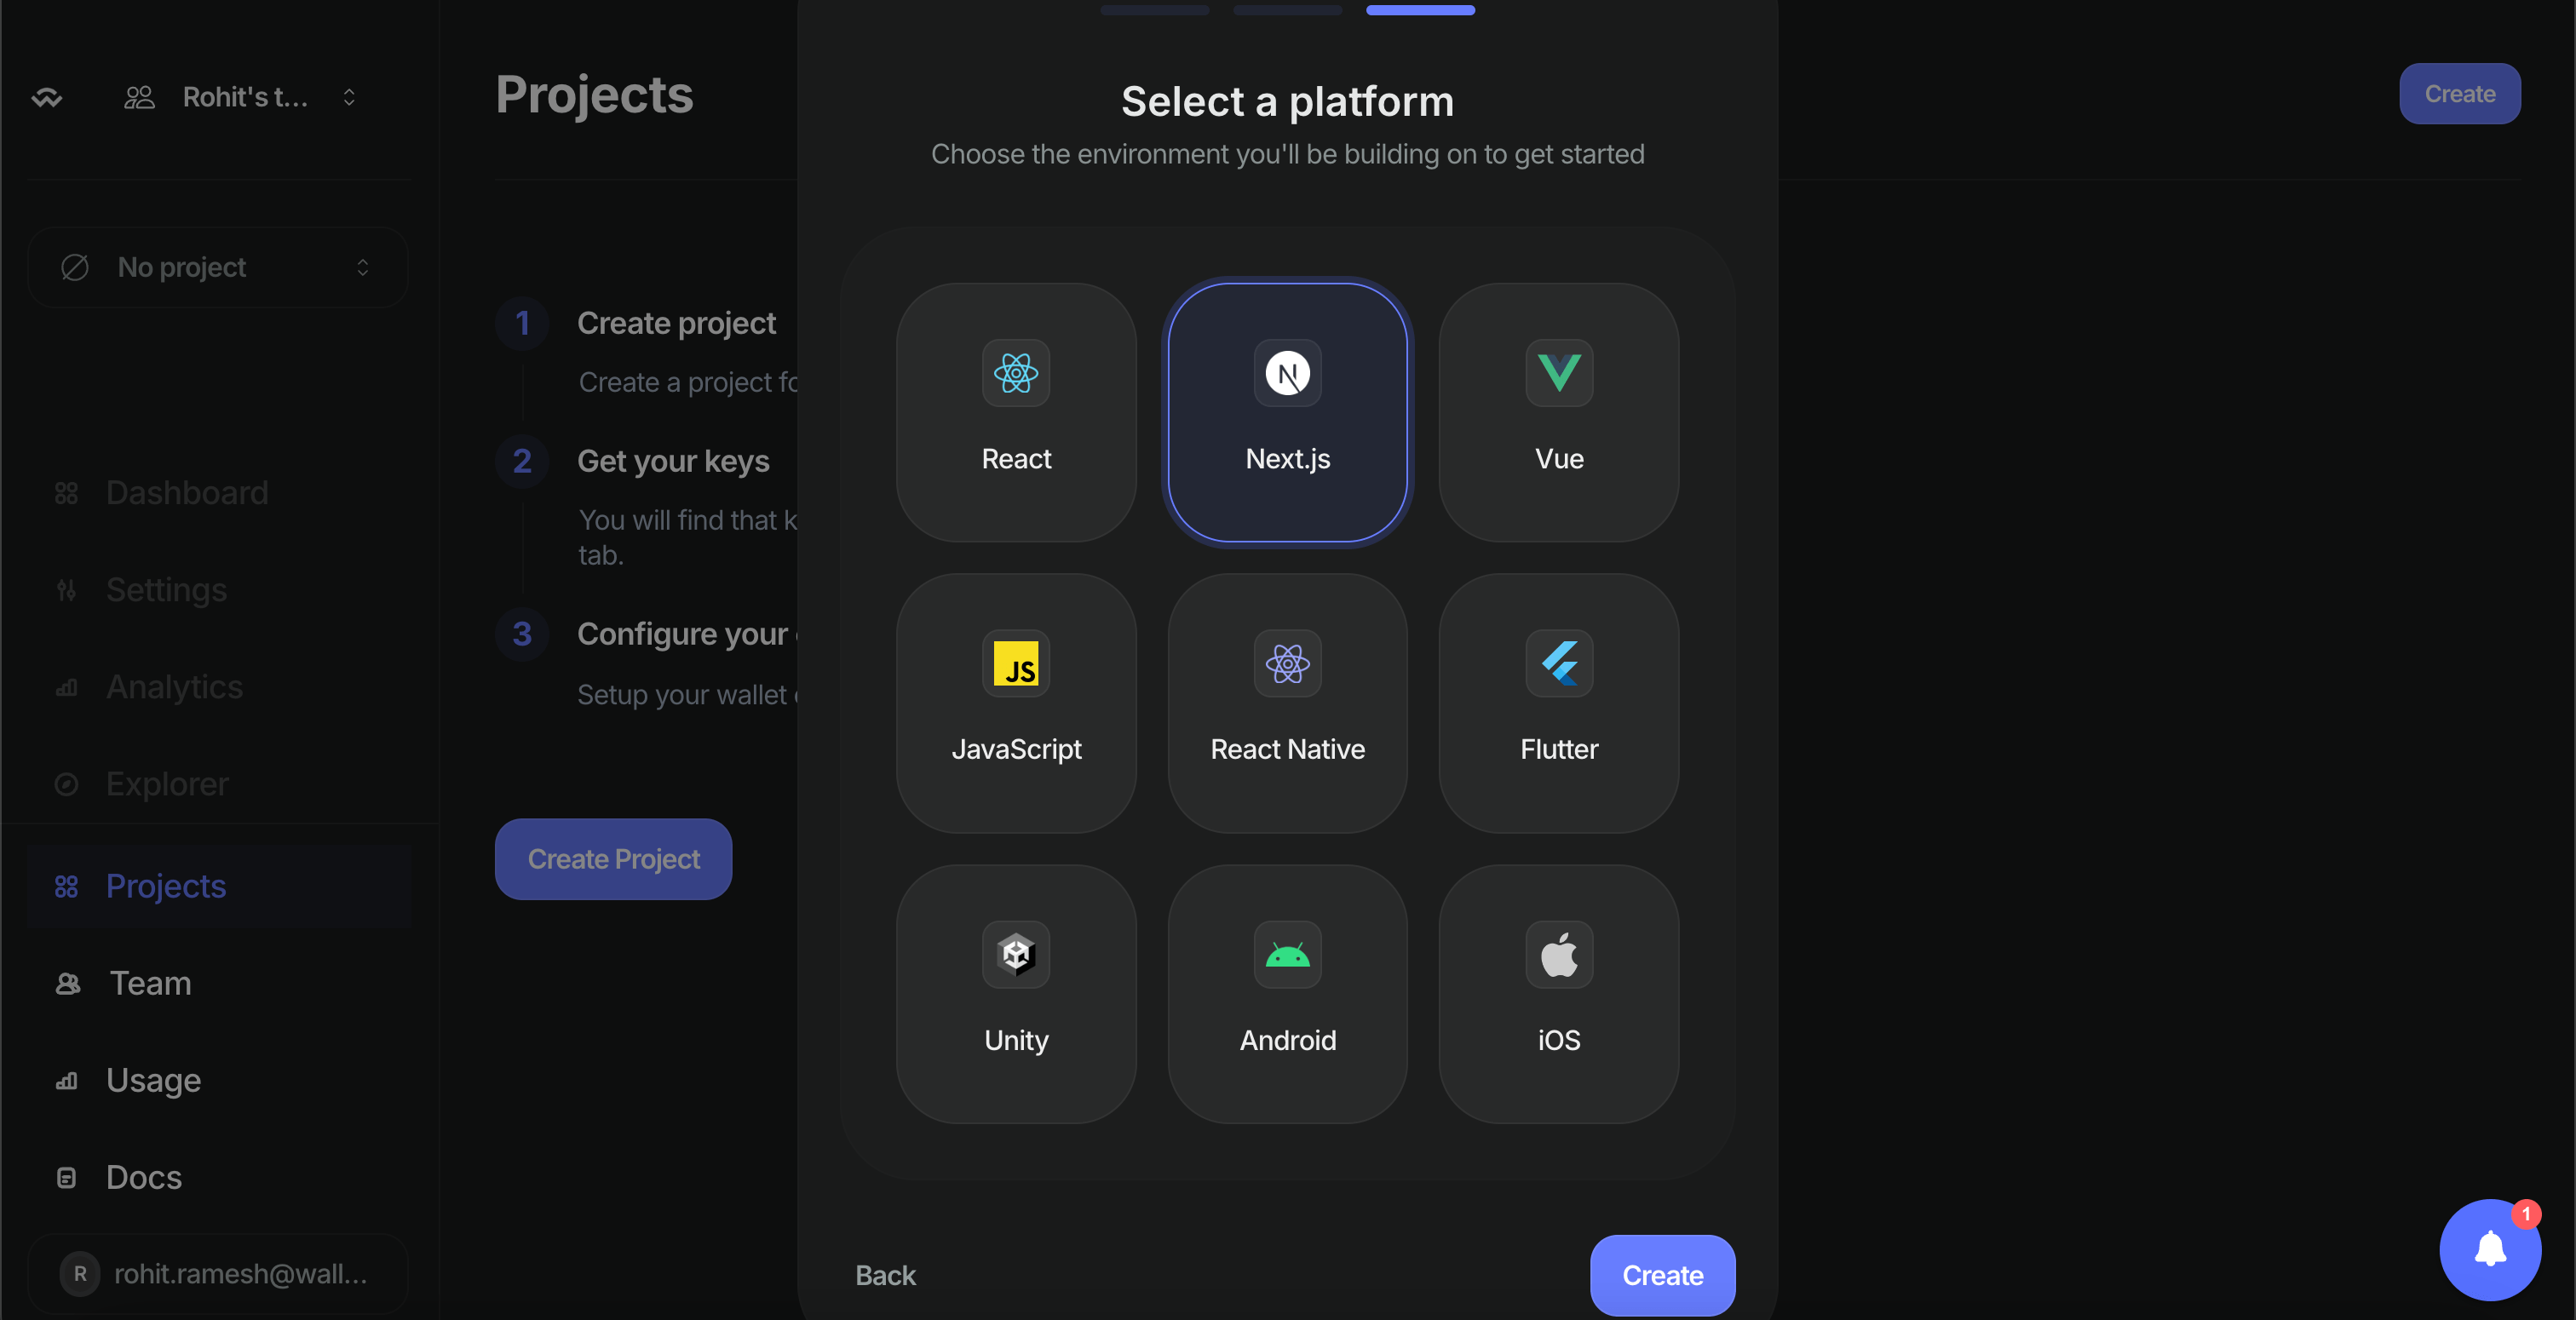
Select the framework as “Next.js” and click on “Create”. Reown Cloud will now create a new project for you, which will also generate a project ID.
You will notice that your project was successfully created. On the top left corner, you will be able to find your Project ID. Please copy that, as you will need that later.

Configure AppKit with your preferred network
Open the project that you created using the AppKit CLI in your preferred code editor and navigate to /src/config/index.ts file.
Within this code file, you can notice that the networks configured with AppKit are being pulled from @reown/appkit/networks. If you wish to configure additional EVM networks, please update the corresponding import statement as shown below.
Example:
If I want AppKit to use Ethereum Mainnet, Optimism, and Rootstock, I will import those networks from the corresponding networks package.
import { mainnet, optimism, rootstock } from '@reown/appkit/networks'Similarly, update the code line where the constant variable networks as shown below.
export const networks = [mainnet, optimism, rootstock] as [AppKitNetwork, ...AppKitNetwork[]] After you do this, your project will use Ethereum Mainnet, Optimism, and Rootstock with Reown AppKit.
Run your AppKit app
You can now run the app and test it out. To do so, run the command given below.
npm run devIf you are using alternative package managers, you can try either of these commands - yarn dev, pnpm dev, or bun dev.
Conclusion
And that’s it! You have now learned how to create a simple app using AppKit that allows users to connect their wallet and interact with 500+ EVM networks, Solana, and Bitcoin.
Reown AppKit is a powerful solution for developers looking to integrate wallet connections and other Web3 functionalities into their apps on any EVM and non-EVM chain. In just a few simple steps, you can provide your users with seamless wallet access, one-click authentication, social logins, and notifications—streamlining their experience while enabling advanced features like on-ramp functionality and smart accounts. By following this guide, you'll quickly get up and running with Reown’s AppKit, enhancing your app’s user experience and interaction with blockchain technology.
You can view the complete code repository here.
What's Next?
If you're wondering how to use Reown for various use cases and build apps with great UX, feel free to check out our other blogs here.
Need help?
For support, please join the official Reown Discord Server.
